
Capri custom door panels
On the previous stage, I have decided to use something similar to alcantara fabric. That was a bad choice, since the durability is immeasurably lower than on the original alcantara, and even the color of material has faded. This time I decided to use original alcantara and real grain corrected automotive leather, so the quality and durability won’t be a problem. Due to a different arrangement of components mounted to the door, it was easier to make new panels, rather then patching holes on existing ones, so the process started.

I decided to recycle phase I parts and also use them for basic template.

The upper door holder was in worn out shape since it was glued several times over the last 40 years.
So, what needed to be done is some sanding and painting.


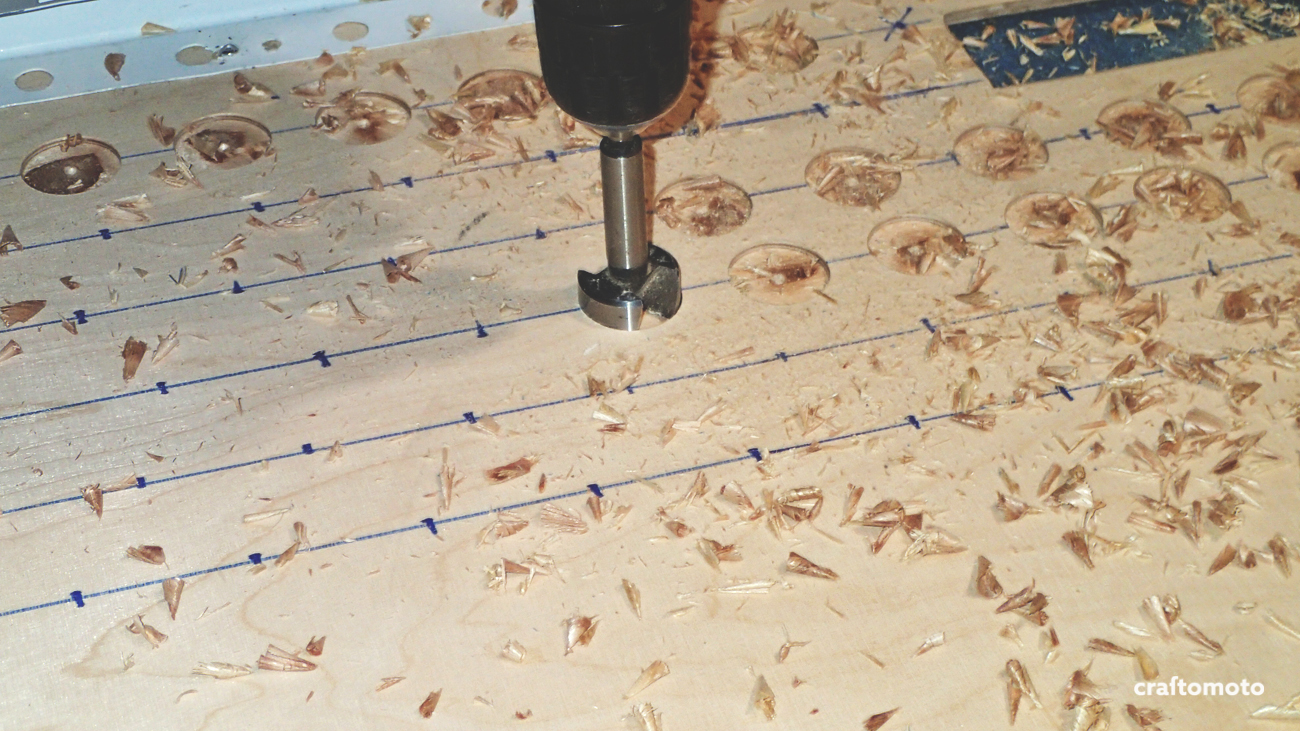
After I traced out a new template, I used a 3 mm thick plywood for the door panel, and here it is in a process of dry fitting.

When both doors were done, I found out there was a miscalculation and the panels needed to be thicker.

I got an idea using the 3 mm Forex to double the thickness, because I didn’t want to do door panels for the third time.

Yeah, since you don’t see a layer of Forex on this picture, you can assume the obvious – Forex thing didn’t work and I have made door panels for the third time.
This time the plywood was 6 mm thick, so I decided to lighten it a little bit.

Couple of hours later all done.

Everything was painted to make it water resistant, and you can see the creative process of different ideas for joining materials.

These were the first attempts of sewing leather on industrial machine. But since our excellent fashion artist Buqele didn’t have a leather machine, the seams didn’t look right… and at that point I decided to buy an old leather sewing machine and do it myself. How hard can it be? 

I started slow with marking every single stitch, almost a meditative preparation job. Probably slower than any upholsterer ever, but few hours of work later the job was done.

Finally the biggest part of the door was finished, but due to some beginner’s mistakes it didn’t looked good enough for me.

How to get something right – do it over and over again. Following that motto, I have ripped everything off again.

Now the procedure was similar but still different.

Just for a comparison, six months earlier, when I started sewing, it took me a week for one door panel. Now it took me one day. That is a 700% increase of productivity, so when I looked at it that way, I was happy.

I put a lot of effort finishing the stitching at the end of the line so it would look professional.

The pins were used to hold the line before stretching and gluing.

The first stage was to get material up the edge.

The second stage was to get the material over the edge. I wasn’t taking any chances so I used a lot of spring holders.
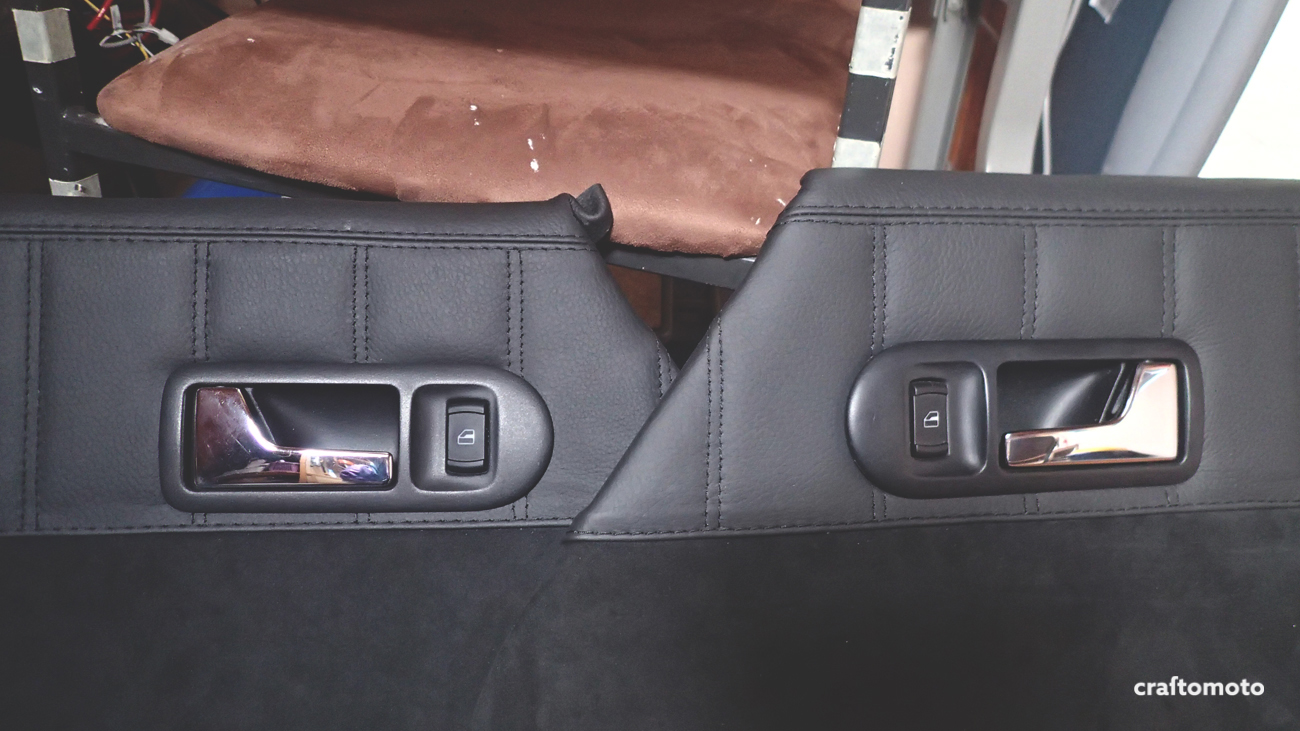
After mounting VW door handles (passenger side LHD and passenger side RHD), I found out that on one side door handle has gone 2 mm up, and the material 1 mm down. Because of the proximity of the upholstery line the difference was noticeable and horrible.

To fix the problem without removal of the upholstery some fine rivet removal was needed.

And some cutting of the door panel.
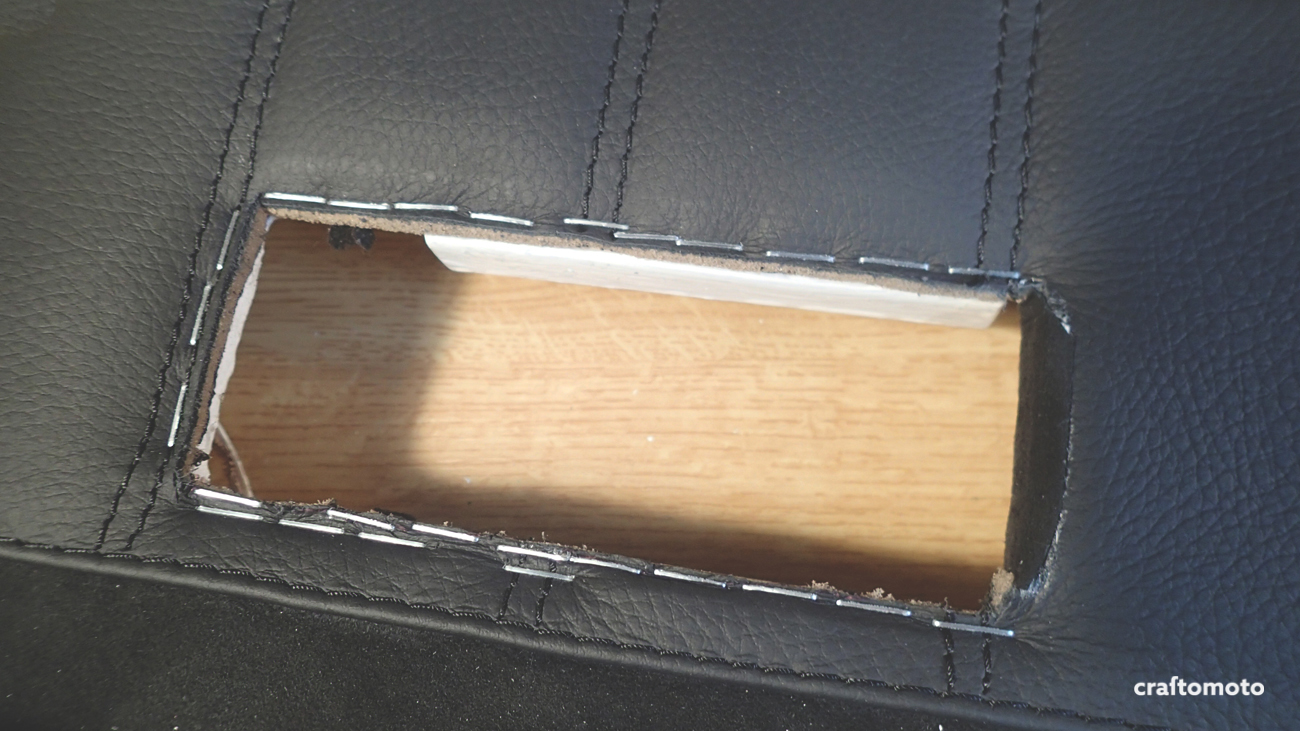
And again stapling all together.

After not so simple modification, the door handles were finally identical.

Originally, those handles are only clicked in place. I decided to use four screws for extra secure mounting.

Latches for window drip seal were cleaned and zinc plated.

The new window drip seal was hooked to the latches and glued to the rear of the door panel.

Fine detail of the finished section.

As you can see, number of door trims were doubled or tripled just to have an extremely secure connection to the door.

The final result of the door panels (without the arm rests and speaker holder) has an OEM feeling.

The VW door handles have blended nicely to the overall design.

I have also used the VW door lock pull pin trim to make it prettier.
For those who didn’t count, it took me four tries just to fit my quality standards. Hope you like it!


