
Console upholstery – 2nd try
Remember when in the previous post I mentioned that “those small imperfections will give warmth and character”? Sometimes there are things that start to bug me more and more and more and at one point I say – f**k it, I’m doing it myself.
This is the case. Leather upholstery is extremely time consuming process and I don’t have money and time to experiment with another 10 upholstery guys, just to accomplish my vision. On the other hand, I have capacity to quickly learn basic and some advance crafts. Having said that, I decided to buy a half broken 30 year old industrial sewing machine and to do it myself. If something goes wrong, it’s me to blame.
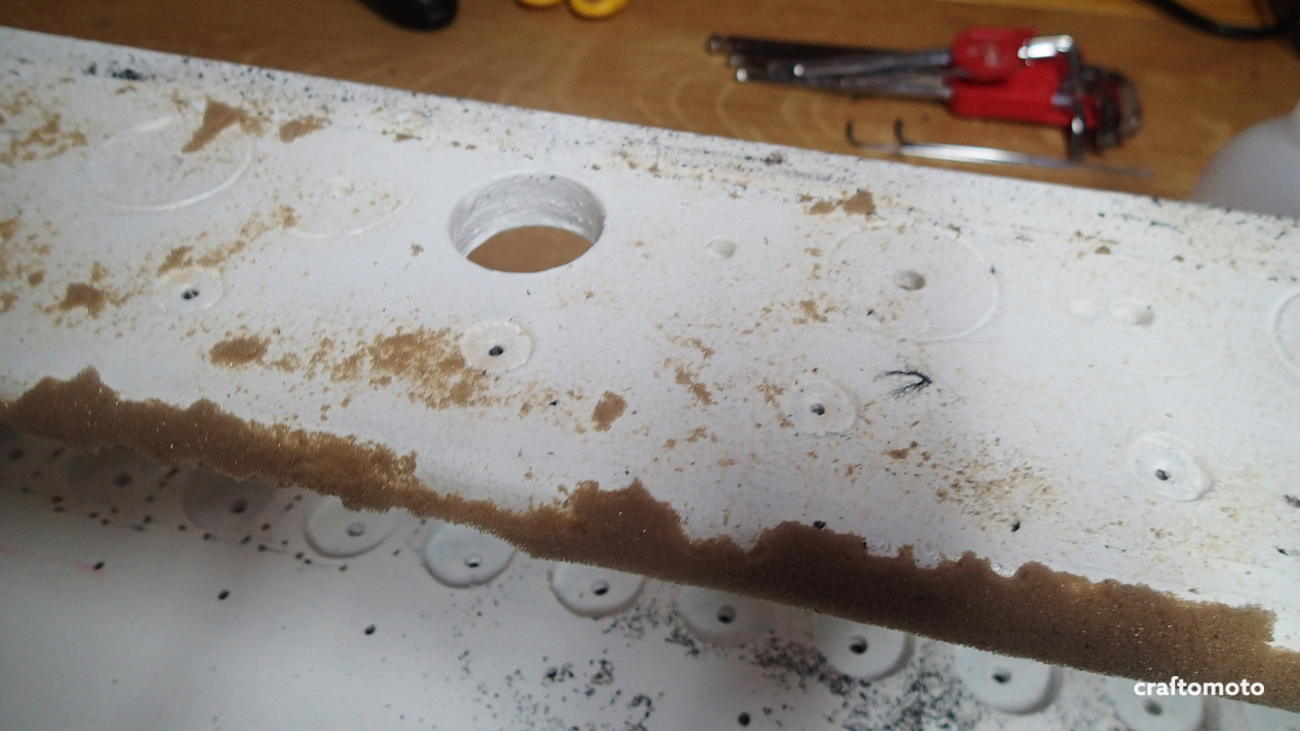
First I ripped everything off, re-glued the small holes from the previous try and repainted the MDF.

I put the new super hard foam back on, and marked the seam lines.

I cut out the remaining leather on previously measured pieces.

I didn’t have enough leather, but soon I realized that I can’t use a new hide, because of slight color difference. So, I needed to make a new seam somewhere, and use a few smaller pieces from the first batch.

Everything was planned ahead, except the issue of material stretching which I corrected by eye before and during the final stitching.

I created inner layer, outer layer and then sewed them together.

I wanted to reinforce and protect the thread from pulling out, so I put glue and thin pieces of material everywhere.

When everything was sewn together, I started to stretch and staple everything together.

Difference is obvious. The lines are absolutely straight, the thread is thicker and more tense.
For my very first upholstery job I am totally satisfied. Knowing myself, in couple of years I will probably see a bunch of mistakes that I could have avoided, or things I could’ve done better, but at this point is 98% perfect. Don’t ask me how I know this percentage 


