
Custom roof lighting
There’s a story behind almost every aspect of the build and the interior lighting is no exception.
I wanted to create a luxury feel inside the cabin. Almost like in a salon, or a theater, but it also had to have a gritty look (gritty, simple and straightforward approach). That was hard to achieve because those two things usually don’t go together. So again I went for the black on black solution, trying to minimize everything as much as I could. From my experience, I knew that the design would be way over-engineered, but in the end it would look very simple.

The shape and the light diffuser of the VW reading lamp was perfect, these kind of lamps can be found on bunch of scrap yards.

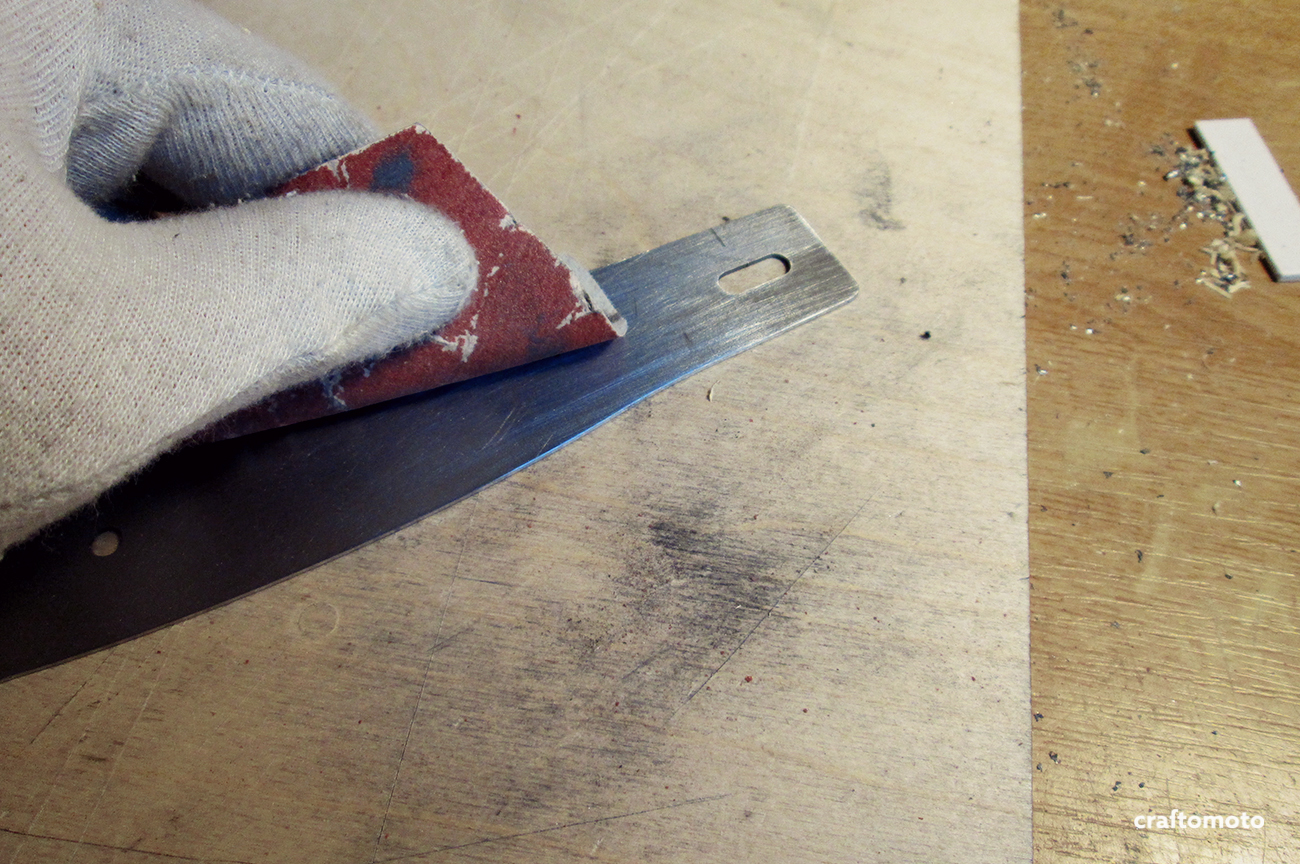
The first step was to remove all the excess material, more or less by blunt force 

The rest was removed by sanding.

The center was marked and the new mounting holes were drilled and countersink.

The next stage was surface sanding, putting plastic primer and painting, because it needed it to be black of course. Now there are also black VW lamps, but since they belong to rare editions, their price was twenty times more than the brand new gray ones.

Lamp covers all done.
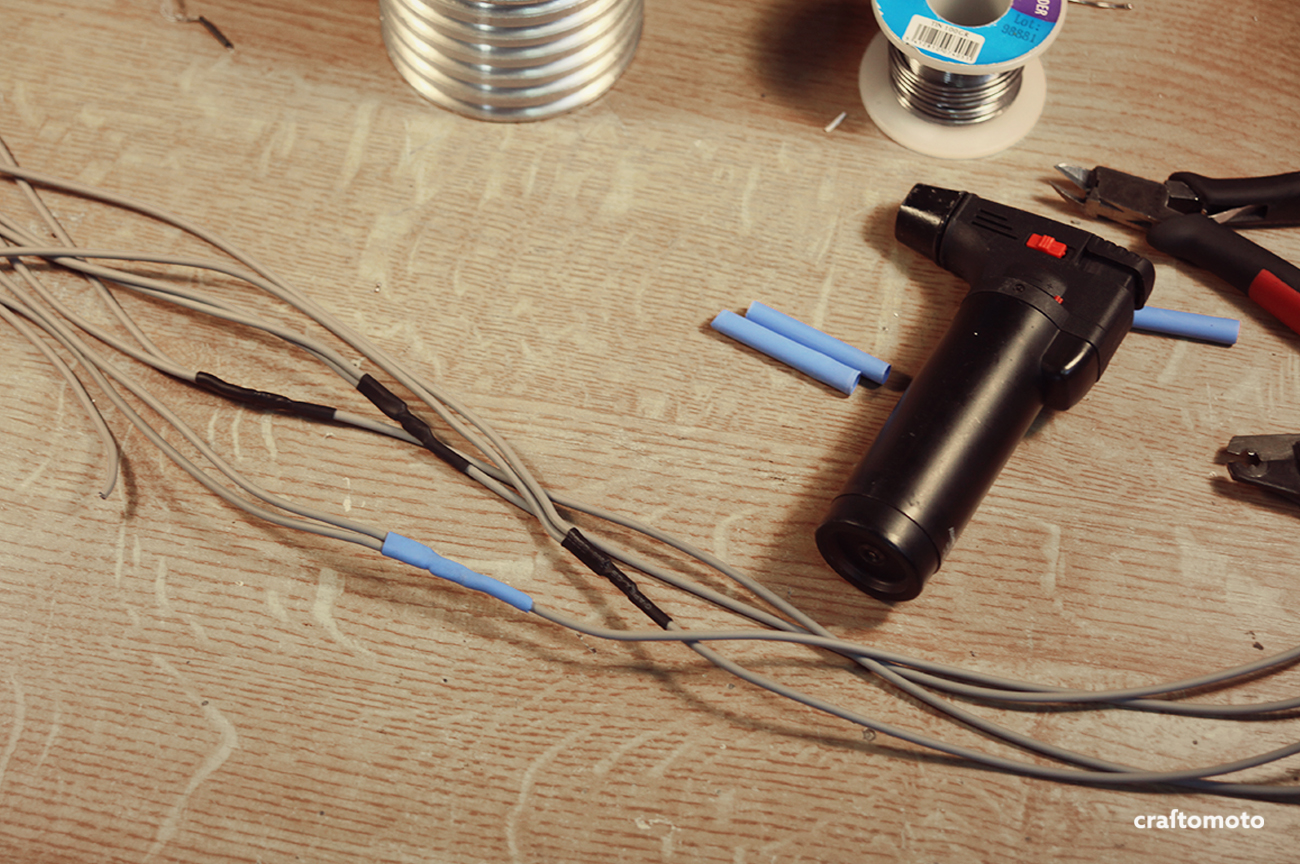
After measuring the wire lengths, the soldering begun. I used double layer of the heat shrink insulation.

I decided to use warm colored LED strips for the lights.

If you watch carefully, you can see that I removed the right end contacts in order to squeeze another 6 LEDs into a diffuser.

I just wanted to double check what kind of current will be present. However, for the LEDs I will use the PWM controller, so I can regulate the brightness and reduce the heat they are producing at full power, so the consumption will be even less.

Didn’t want to use the regular screws that are kinda flimsy, so I inserted rivet nuts.

The steel version seems to be really strong considering the purpose.

Those are sandwich plates, if you are wondering what is their purpose, don’t worry, it will be explained soon.
First, they were hand sanded prior to powder-coating.

Almost complete.

After everything was powder-coated, I used the LED’s self adhesive tape to attach the modules to the plates.

The purpose of the plates was to have one inside the roofing material (it will also be the mounting point for the lamps), and also one on the visible side of the headliner, so they can sandwich the material together.

The purpose of the plates explained in this utterly confusing sketch.

After “fishing” for the wires, I began with soldering.
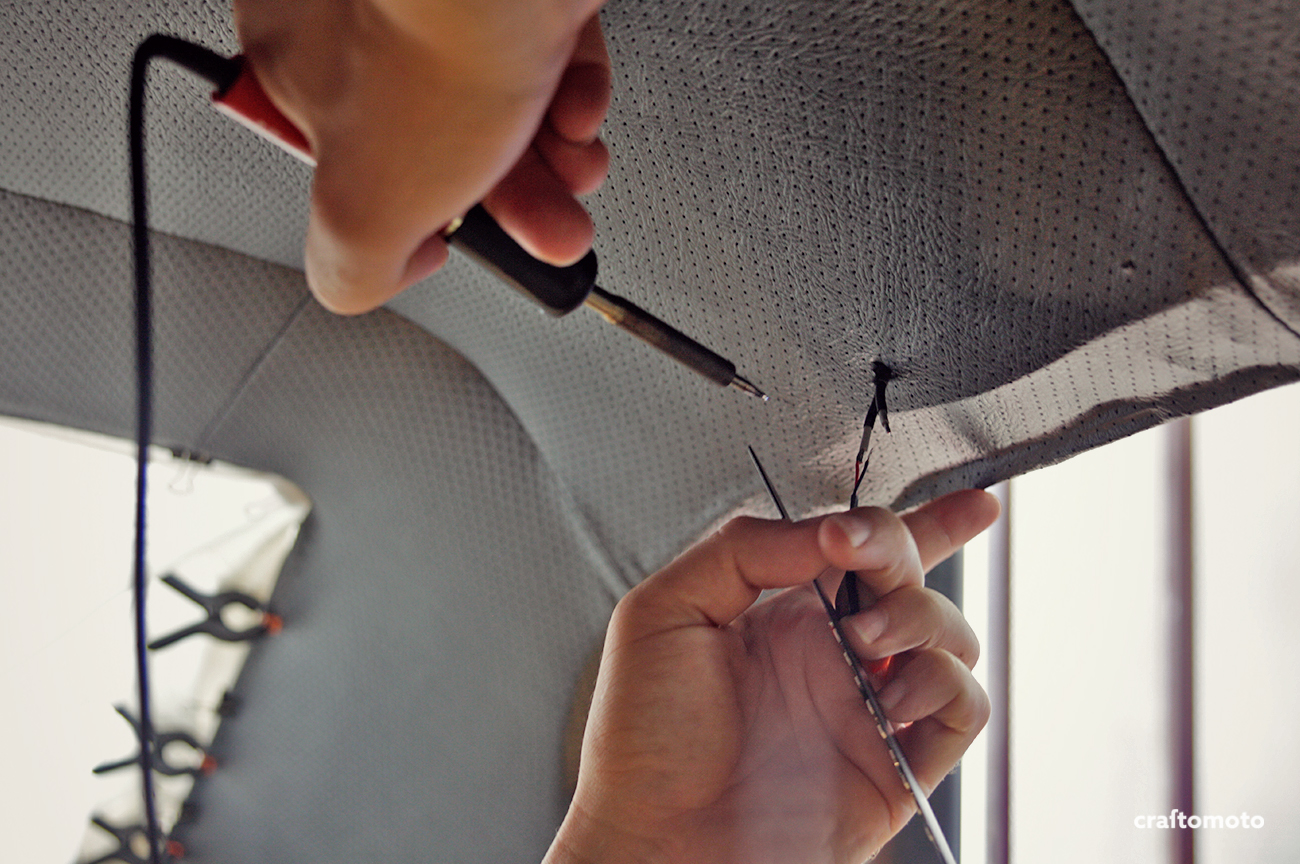
The attaching the LED module. Hopefully it won’t die to quickly, since the replacement could be a quite a procedure.

After soldering, I put over a heat sink insulation, and electrical tape for redundancy. Also, this car cabin cable fabric insulator was put over everything. A bit of an overkill, but the whole project is like that.

A mounted lamp.

I used modern rivet nuts and bolts, now the handles are much sturdier than the old ones that were attached with the regular screws.

The lamp in action.

You can see how intensity of the light can be regulated.

This warm LED color combined with this kind of interior really creates a luxury feeling. When set to the maximum brightness, they provide enough light, but since they are mounted behind the handles, they’re not too invasive for the eyes. Really satisfied how the whole roof lighting project turned out.
If you like what you see, you can follow us on Facebook and Instagram


