
Ford Capri subwoofers
Before I even start writing this build log post, I want to say that I’m perfectly aware how just one subwoofer would be more than enough for our Capri, but since I already had a pair of amplifier mono-blocks, I thought – why not use them both? After searching for the ideal drivers i decided to cannibalize the one in my daily, since it was a perfect size, and get another identical one. The problem emerged the moment I found out the specific model isn’t in production and stores any more so it needed to be sourced second hand from classifieds, what ended up being a quest for itself. Nevertheless, it was found and the build has started.

The second speaker I got didn’t look so good at the first glance.

So I gave it a nice foam clean.

After cleaning, it looked like a brand new speaker, and being mechanically sound it was great find after all.

Josip helped me visualize and calculate the volume of the box by doing this nice 3D drawings. Couple of design ideas was thrown into consideration.

After the measuring, we made CAD drawings, laser cut and sanded the plywood.

Besides gluing, I put these long bolts to secure the edges even more.

Enclosure partially built.

I found out that the sewage pipes can serve as ports, and they work perfectly with the store bought flares.

Dry fitting the top, and using epoxy to fix the bass expand port.

After the painting, most of the enclosure was covered in this self adhesive acoustic foam. Everything except the port area, because I wanted to maximize air flow.

First mock-up inside the car after the enclosures were assembled. Trying to figure out where to put all that stuff.
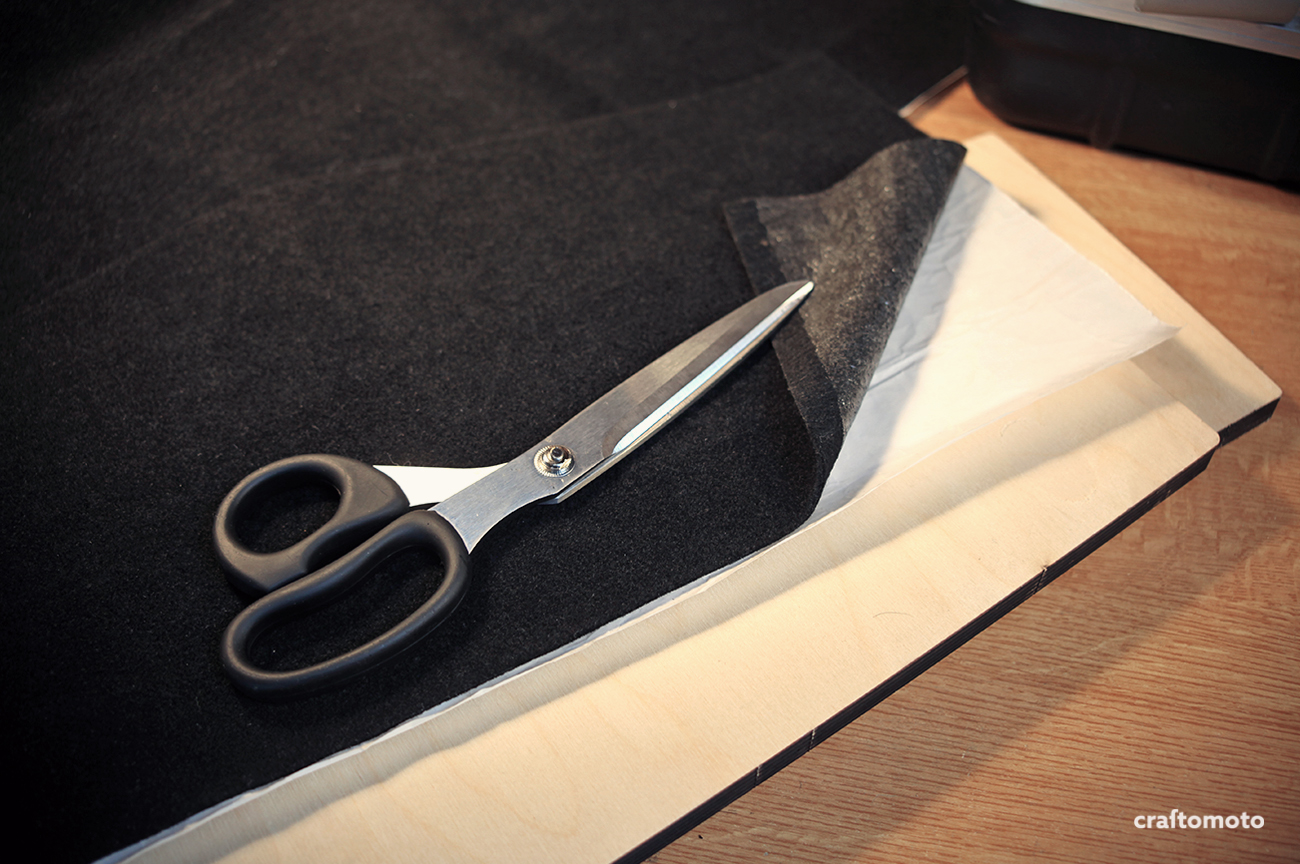
The upholstery was a straight forward job, using this speaker box self adhesive carpet.

Everything except the bottom was upholstered. You can see five mounting holes that will be bolted down to the trunk.

This handy crimp tool was used while doing the wiring.

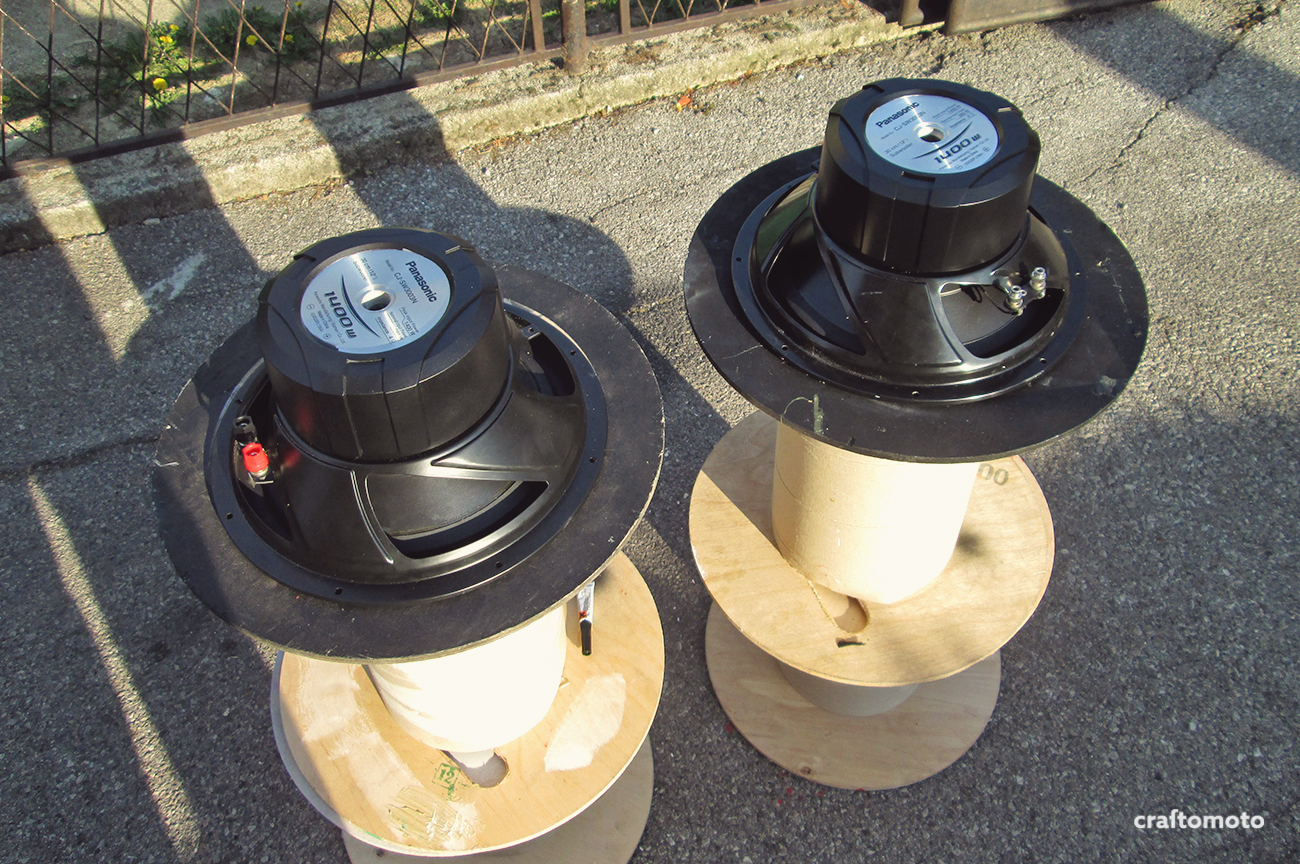
After the majority of the enclosure was made, everything was installed in my daily for testing.

I found out that it would be good to lower the resonant frequency, so I used this polyfill material and encapsulated in speaker grill fabric.

I have stuffed everything inside where it wont restrict the airflow, since it is a bass reflex system.

For securing the ports I used long bolts and plastic pipes.

Everything painted black.
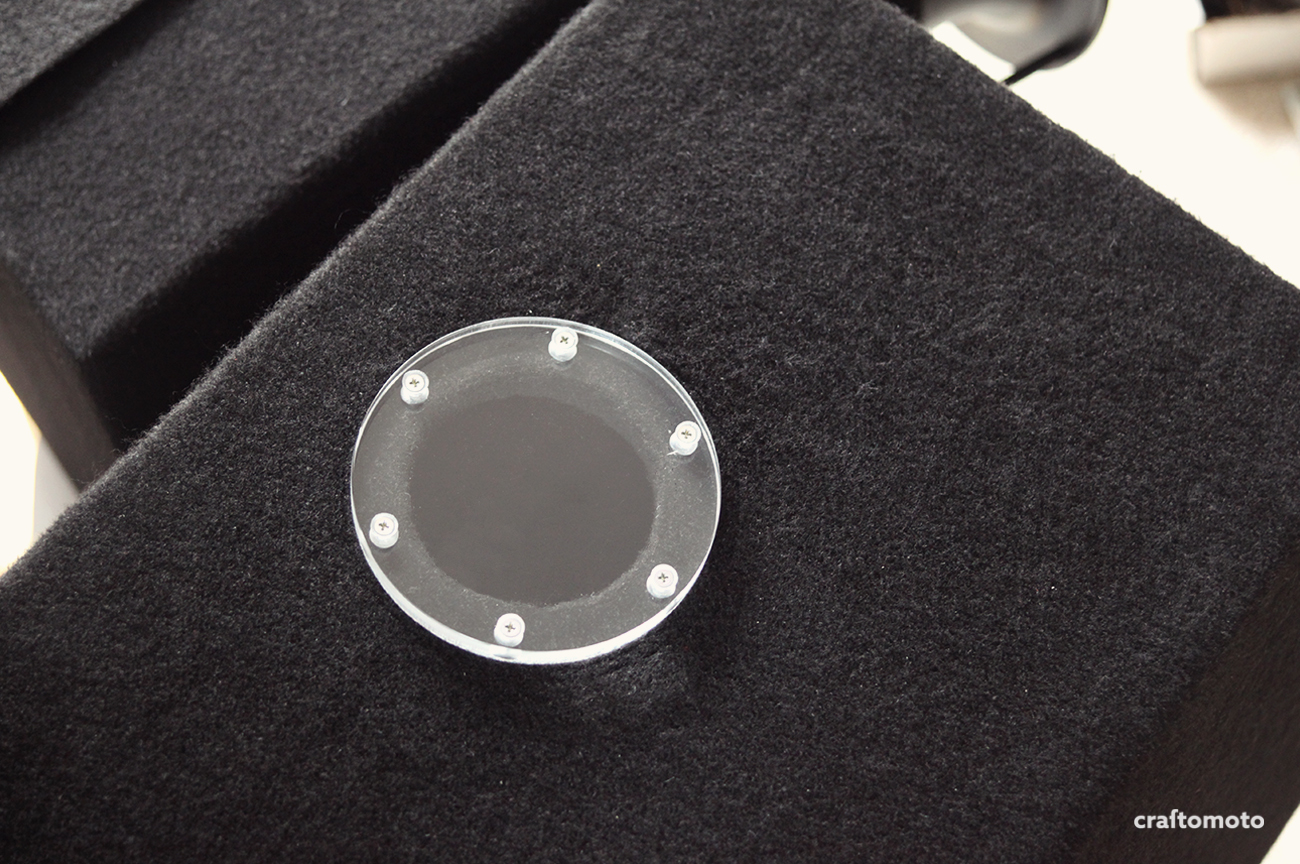
Since only the top of the enclosures will be visible, the inspection port was created out of 10 mm acrylic. I almost left it like that, because it’s a trunk after all, but Goga insisted on consistency trough the build, and demanded to make this part more pretty 

So I made those two bezels.

For the central storage I decided to laser-cut some steel .

After bending, the holes were embossed for extra rigidity.
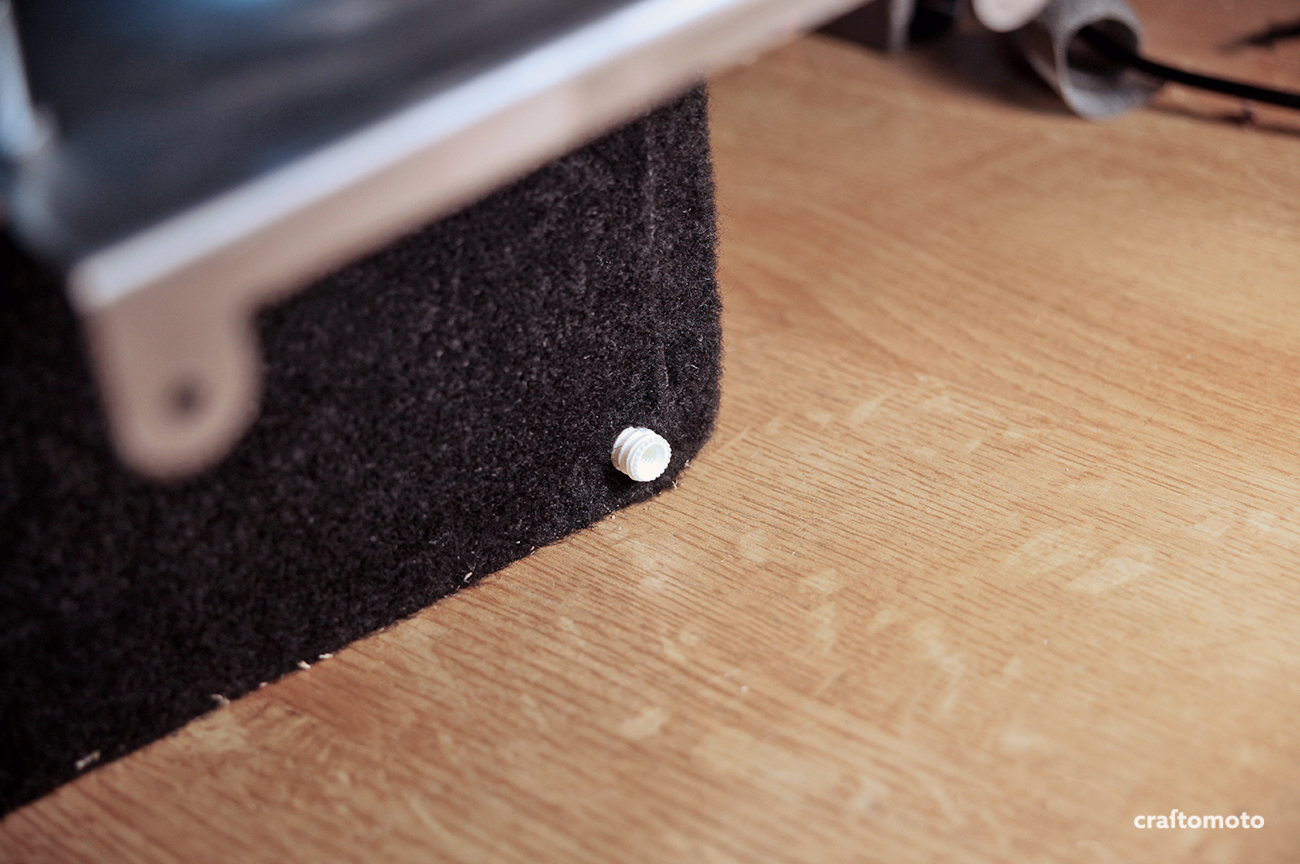
Those nylon push nuts came in handy for mounting the plates.

This is a central compartment lid.

Upholstering the central compartment lid.

Action shot of me trying to mount one of the speakers.

Since there was an inspection port installed, I couldn’t leave the drivers in the wrong color, so I painted them.
All painted and ready for installation.

If everything was custom, why not customize the reflective vests – our logo was cut and thermally pressed in a local shop.

The cover photo.

There it is. It kinda looks small, but actually it’s more than 1.5 m in length and takes more than 120 liters of trunk space.

For the storage compartment handle I used the same grab handle that are installed in the car.
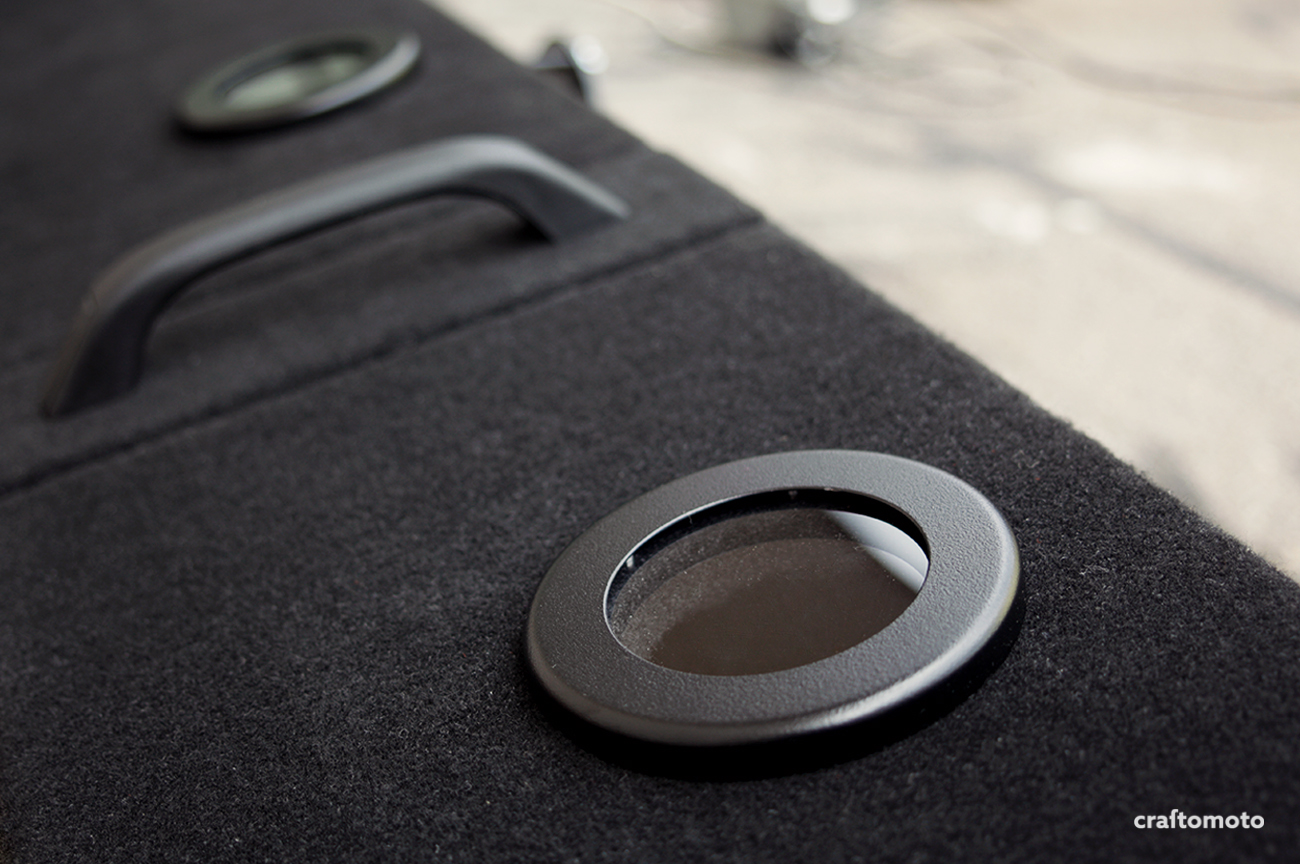
Inspection port looks much better with the bezel in place.

If you are following the Capri build, then you know I tend to make everything minimalistic, but I am more flexible about the engine and trunk space. Anyway those screws won’t be visible when installed since the speakers will be faced forward.

Detail of the bass port.
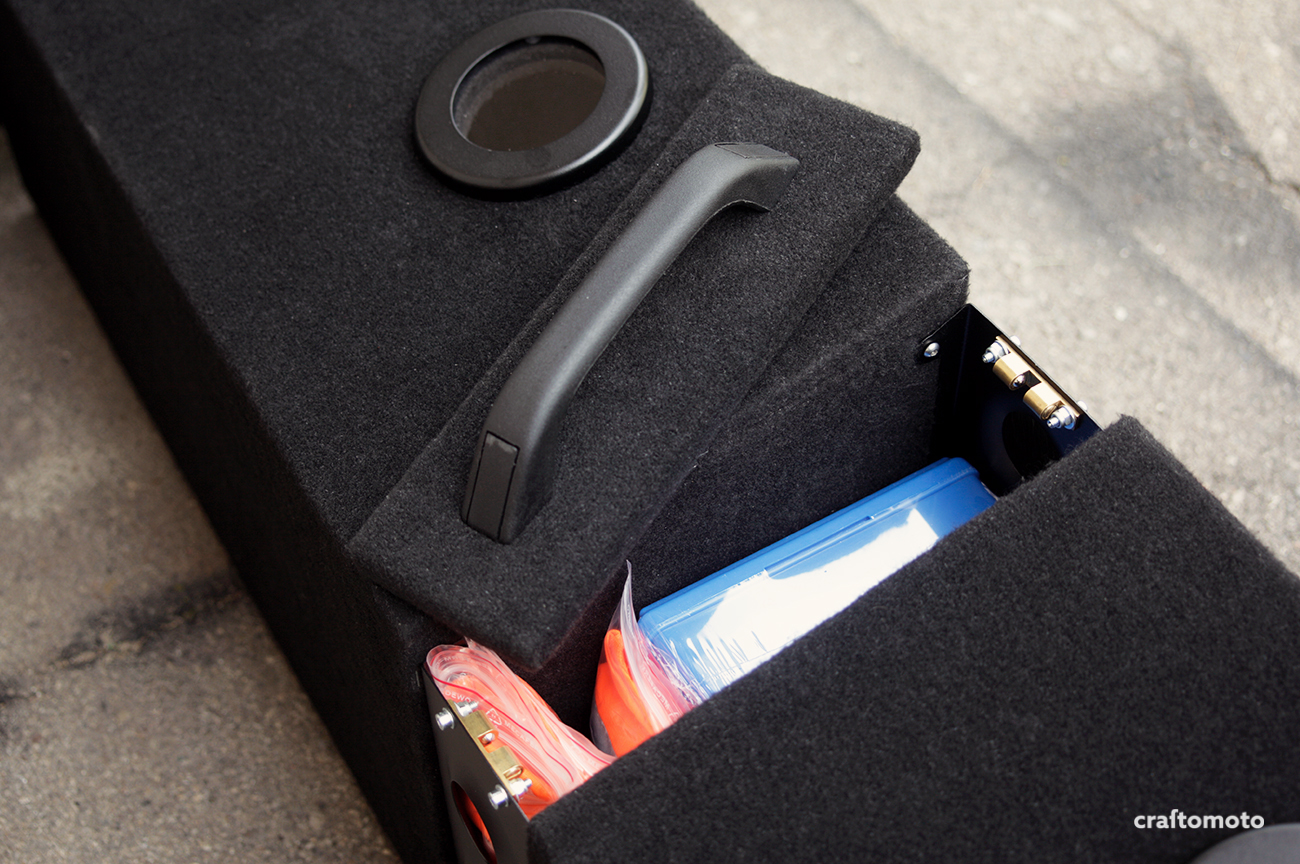
First aid kit and reflective vest’s inside storage compartment.

Next step is to mount them inside the car and connect them to the amplifiers, but that is probably a post for itself, so till then, thanks for your attention and keep on following the blog for updates!
If you like what you see, you can always follow us on Facebook and Instagram


