
Table tennis art installation
Every now and then I get a request from an artist – usually it comes to artistic installations or some kind of device art that needs to be designed and developed. Since it requires a lot of work unrelated to artistic skills, I’m usually the person they ask for technical support or a design solution. These kinds of requests are both inspiring and mind boggling, because you often have to think outside the box and within budget.
Such devices are actually prototypes, but they have to work like the real thing, so you have to be really fast with debugging and figuring out the solutions, because deadlines are usually short and you really need them to shine at the opening and during the exhibition.
The last commissioned project was for our well known artist and sculptor Ivan Fijolić. He wanted to make an interactive table tennis installation in which the winner of each point presses the button, the net moves towards him, reducing his field, which decreases the opponent’s chances to win. Yes, it’s unfair. The whole concept is based on criticism of capitalistic society, and the installation is currently set at the Museum of Contemporary Art in Zagreb, as a part of the T-HT Award 2017, competing for the prize. Fingers crossed, let’s start with the build log!
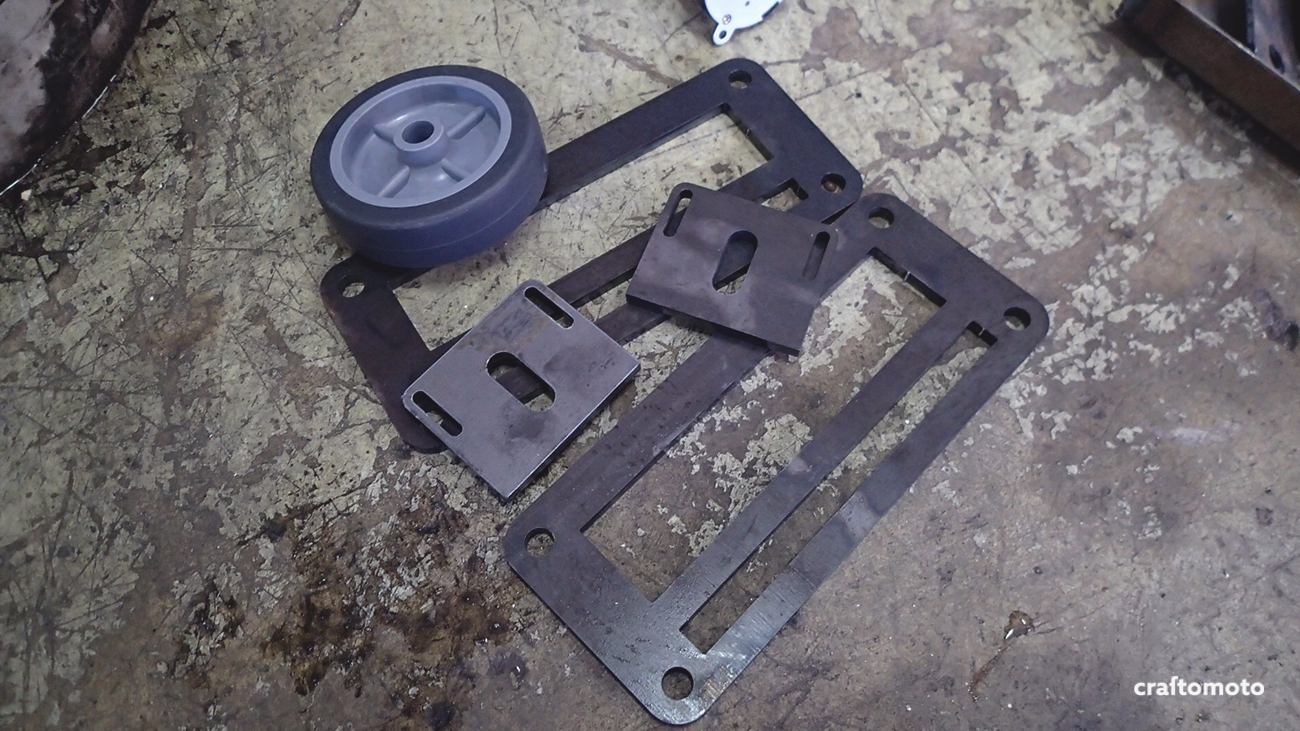
First I made the blueprints, so I can laser cut all the elements. And of course, weld them afterwards.

This is how the welded construction looked like in the first phase. Note the side motor mounts.
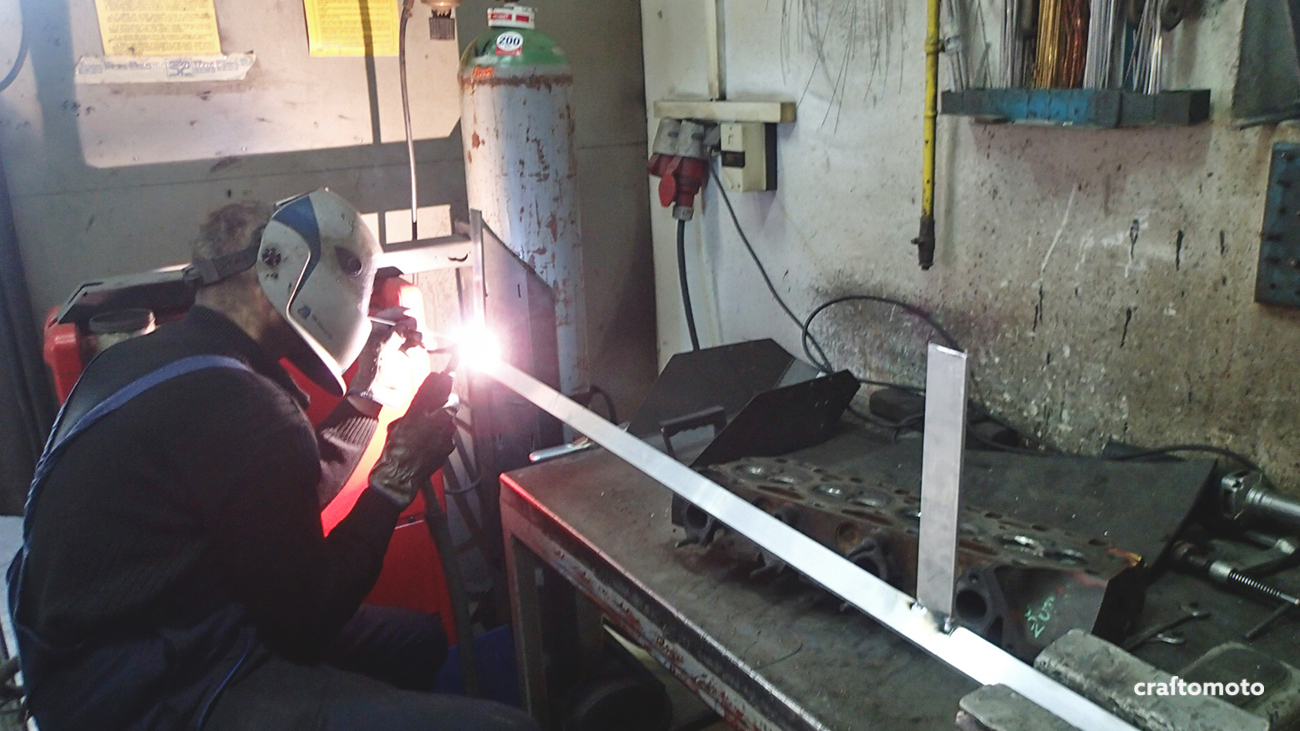
In order to reduce the price, I decided to use square aluminum tubes and ball bearings intended for inline skates to make the rails. Btw. that’s not me welding the aluminum, I’m still waiting for my welding machine to come.

The mounts are welded, and the holes are drilled.

The whole contraption was assembled to test the homemade linear guides and they worked like a charm.
The idea was to mount the motor sideways, and this wheel on the side of the guide rails. Unfortunately, it didn’t work because there was too much rail resistance and too little traction, so all the work was scrapped.

After some brainstorming I came up with another solution for a motorized device. I laser cut another two motor mounts for smaller motors that will be mounted in the center, and used the natural flexibility of steel to constantly push them downwards.

New mounts were welded and everything was powder coated. Also, I made multiple mounting holes in the eccentric configuration, so I could fine-tune the height of the motors, but also the pressure of connection with the surface.
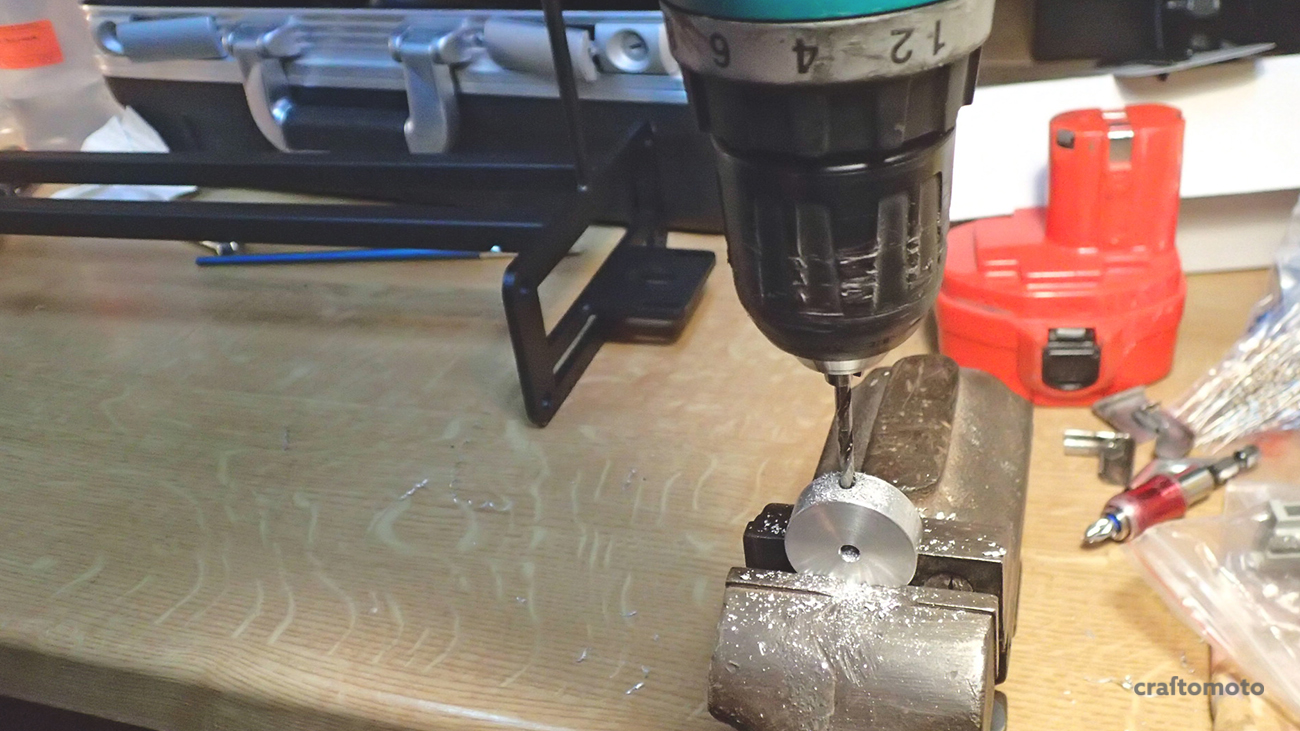
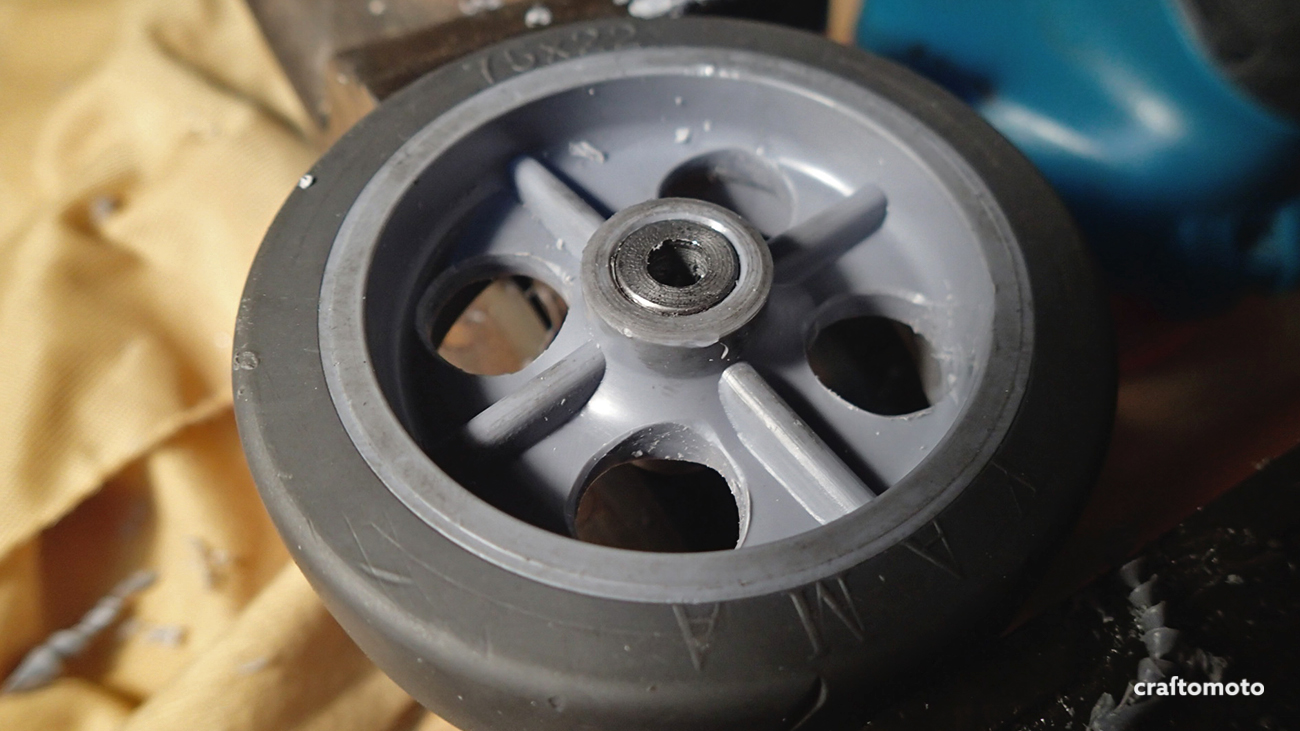
The wheels were turned to fit the size, and the hole for the shaft retaining bolt was drilled.

After drilling I cut the threads.

The only thing left to do was to put a retaining screw and mount the rubber.

I made this adapter for the central hole on the table, so the wheels can travel without interruption from side to side.

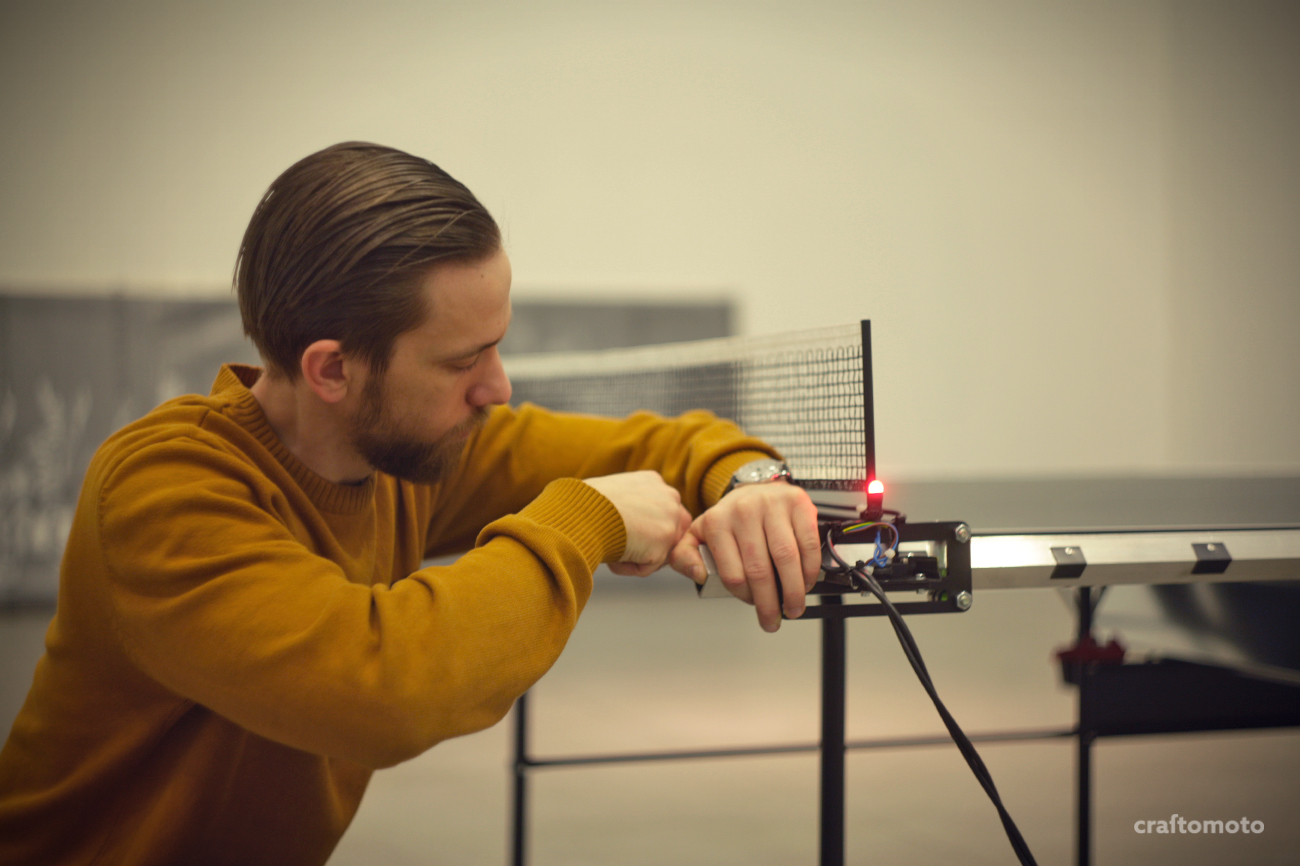
Electronics were a real challenge. My first attempt was making a fully manual system, so the net travels as long as the finger is on the button. Such manual positioning would be distracting for the players, so I decided to make an automatic system instead. First I got a bunch of time delay relays that were no good, without electromagnetic shielding they were turning on and off randomly. Then I got some better relays with a bunch of capacitors and slower reaction, and since I used 100 rpm motor instead of 300 rpm, it worked perfectly now. Maybe it doesn’t look like it, but this is a basic circuit. I tend to make everything with relay logic instead of using Arduino or some other kind of micro controllers, because they’re easier to maintain and there’s less chance of failure.

Preparing the work for the exhibition. This is Ivan Fijolić with me at the Museum.

The finished installation.

A detail of the rail and ball bearings.

A detail of the positioning bumps.

A detail of the score button.
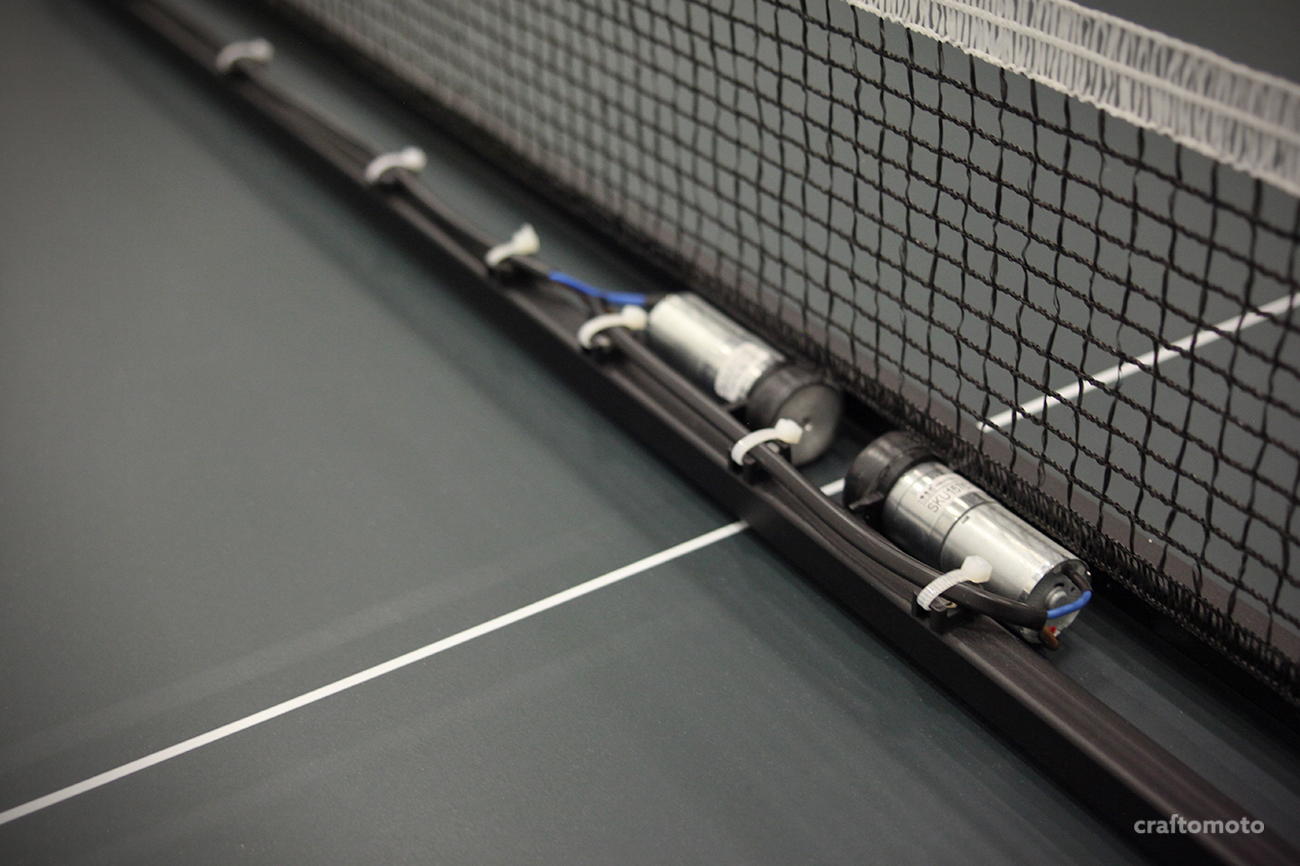
Dual motors that move the net.
Levelling the rails – combined imperfections of the rail, table and floor asked for the fine-tuning on the spot.

Electronics box set under the table.

Positioning bumps.
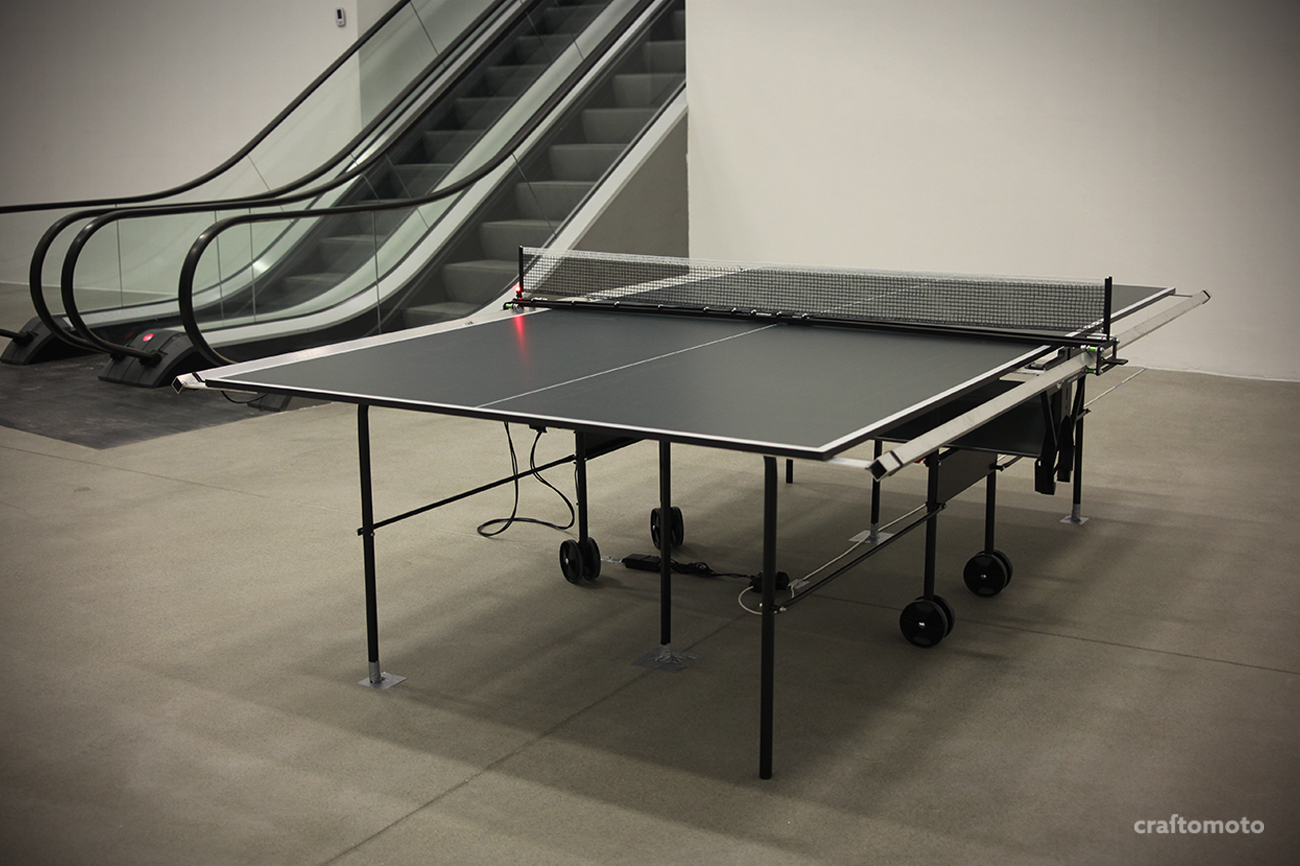
The table from another view.
Short video of the installation in action.


Both halves of the table are divided into 10 fields.

At the opening!
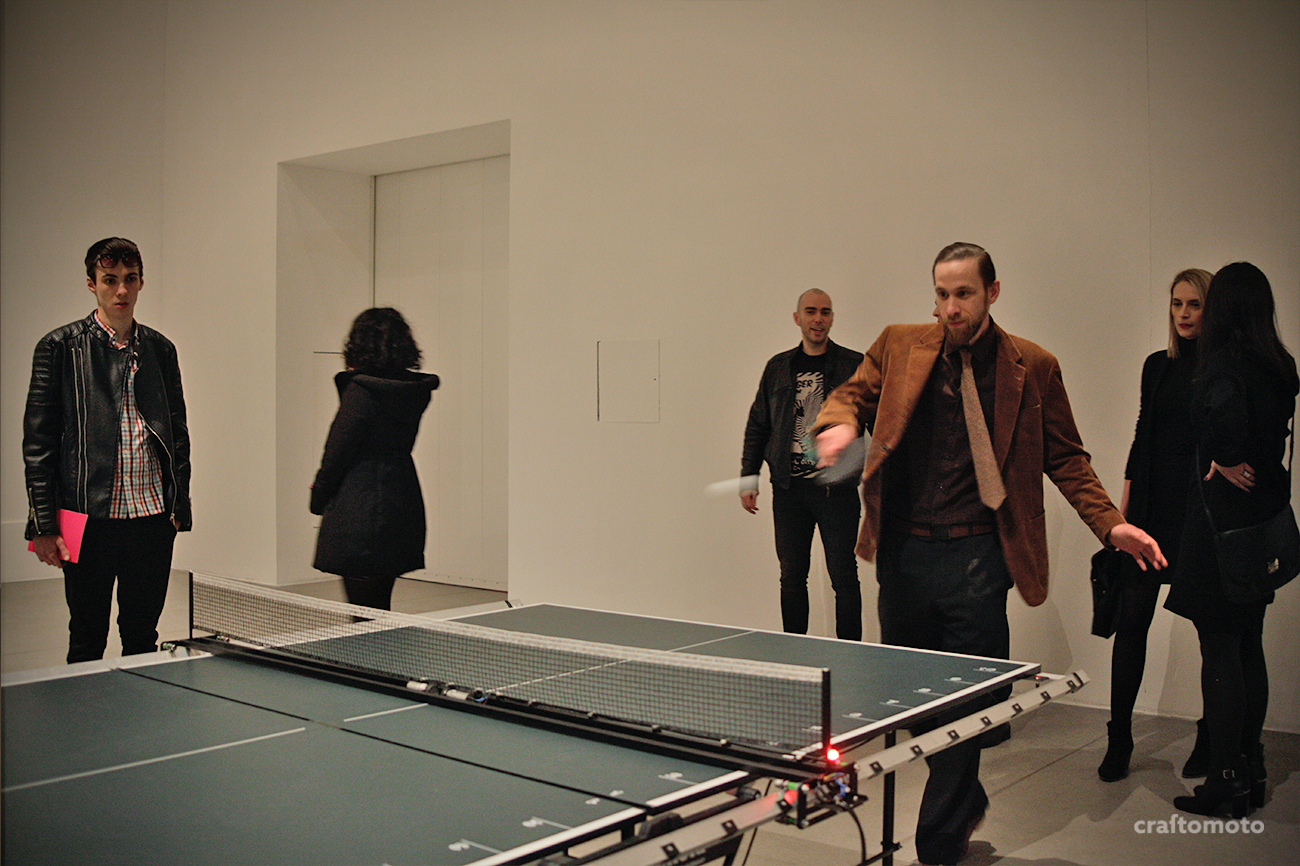
If you have not played table tennis at the museum it’s like you have never played it at all. Very honored to be part of this. Thanks for the reading!


